Company
Our Products
Resources
Support
SUBSCRIBER
Subscribe for item updates, important news, giveaways & more!

Hi guys,
Are You are a photographer and specialized in capturing wedding shots for couples? If so, It is necessary for you to have an online presence which is to build credibility on every clients visiting your website. On the top of that, finding an elegant way to exhibit your creativity when it comes to photography is not quite easy.
Today, I would like to share with you the secret that will definitely help you create a stunning wedding gallery with Arum style.
Having our extension TZ Portfolio+ is concerned as a prerequisite condition of this job. So please make sure you have already installed it and we highly recommend you should use the latest version of TZ Portfolio+, as well as Joomla for best experience.
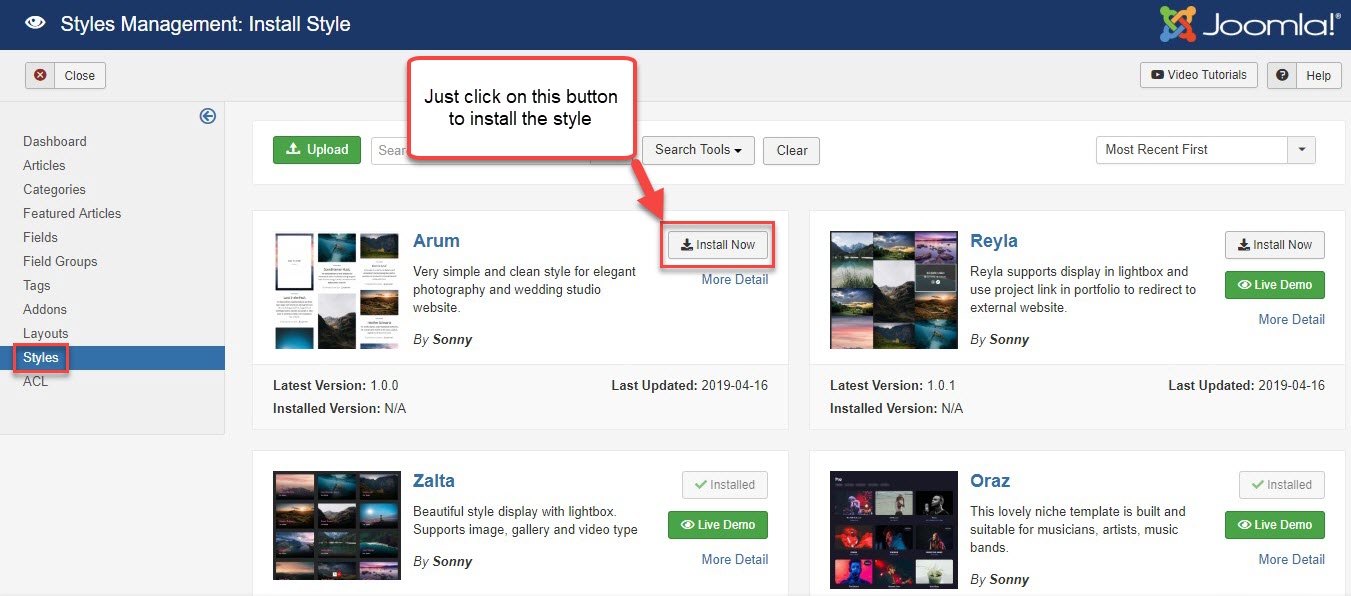


After having done installing the Arum style, layout "Arum - default" does surely appear in Layout Management. This layout displays all elements arranged in a proper order, so that you can represent it in a detail view of each article.
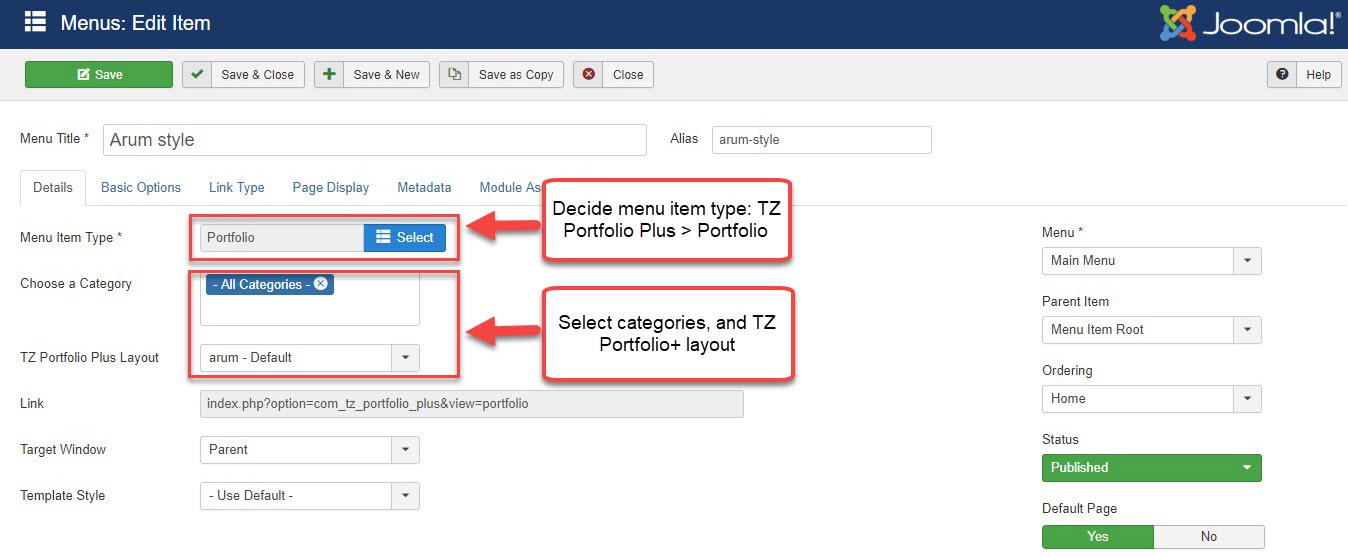
You'd better to set up this layout like the way you prefer, as well as assign this layout to specific menu items, categories and articles

When you decide to use the components to showcase your projects, let's create a new page on the menu:
After completing all those above steps, you're about to go to front site and have a look at the new portfolio page that has already been created. In case you would like to have some extra-fields to present additional information in articles, please follow this LINK1 & LINK2 to know how to create them.
Hope you can achieve an awesome wedding gallery as expected. If there are any questions, feel free to ask us via Chat bot and Forum. We're always eager to help you.
When you subscribe to the blog, we will send you an e-mail when there are new updates on the site so you wouldn't miss them.


![[Update] TZ Portfolio+ 2.6.3 Is Available](http://www.tzportfolio.com/images/easyblog_articles/212/b2ap3_large_TZ-Portfolio-2.6.3-is-available.jpg)

![[Update] TZ Portfolio+ 2.6.2 is here](http://www.tzportfolio.com/images/easyblog_articles/207/b2ap3_large_TZ-Portfolio-2.6.2-Released.jpg)